Step-by-Step Construction of a Customer Registration Form with Easy Builder

Step-by-Step Construction of a Customer Registration Form with Easy Builder
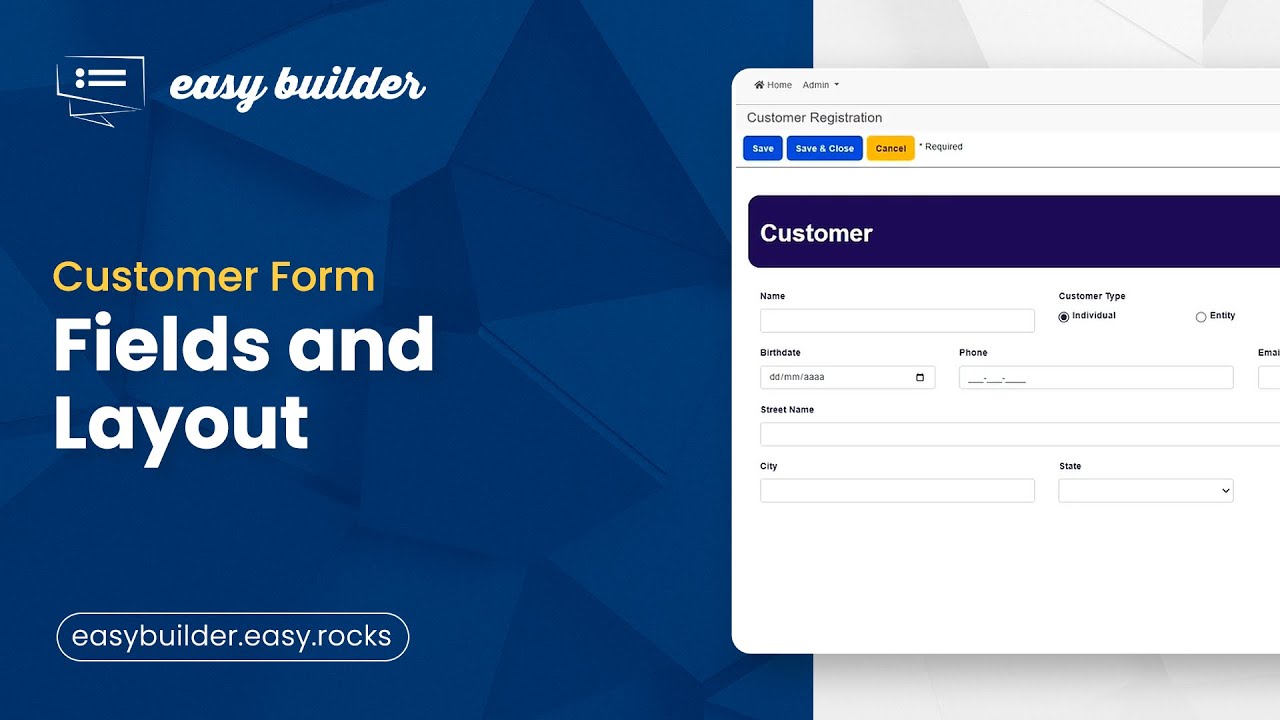
Within Easy Builder, our no-code tool, we will collaboratively create a customer registration form. In this initial phase, we'll incorporate the necessary fields and establish the form's layout. Before advancing, it's advisable to review our previous videos on Form and Page on our channel, as we discuss fundamental concepts and components essential for this project.
Step 1: Form Creation
Commence by creating a form titled "Customer Registration" and insert a box spanning 100% of the width. Employ the Bootstrap framework to divide the screen width into 12 columns, configuring diverse widths for the components. Ensure the application's responsiveness, catering to desktop, tablet, and mobile devices.
Step 2: Form Structuring
Within the box, input a full-width label named "Customer," serving as the form's title. Add another box occupying the entire screen width, incorporating textfield, radio button, and two textfields renamed as "Name," "Customer Type," "SSN," and "EIN." Include dropdown, date, textfield, and email fields labeled "Gender," "Birthdate," "Phone," and "Email Address," respectively. Adjust their displays as needed.
Step 3: Remaining Fields
Integrate an integer field and two textfields labeled "House Number," "Street Name," and "ZIP Code," defining their specific widths. Append a textfield, dropdown, and datetime field named "City," "State," and "Registered On," respectively. Modify their displays accordingly.
Step 4: Component Configuration
Set up the radio button "Customer Type" in the "values" section, adding "Individual" and "Entity" as options. Save these for future use. Repeat this process to add "Male," "Female," and "Other" options to the "Gender" dropdown, and include American states in the "State" dropdown.
After completing these stages, save and execute the form for the initial preview. In our upcoming video, we'll learn to add masks and visibility rules to the fields. Stay tuned!
This step-by-step aims to construct a comprehensive and adaptable form, crucial for gathering customer information using Easy Builder.
Keep Learning with Our Videos on the YouTube Channel!
Congratulations on completing the construction of your customer registration form with Easy Builder! We hope this guide has been of value to you. If you want to further hone your skills and explore additional features, we invite you to check out the previous videos on our YouTube channel. There, we cover essential concepts, exclusive tips, and in-depth features that will complement your knowledge. Don't miss the chance to expand your skills with Easy Builder. Watch now and take your forms to the next level!
Tags
Do a search
Recent News (77)
Integrating Existing Systems with New Technologies How to Create a Successful Marketplace from Scratch SSL/TLS: the importance of security protocols for data protection on the internet Cybersecurity: What It Is and Why Companies Should Invest Discover 5 real cases of companies using Big Data THE EVOLUTION OF CLOUD AI AND ITS INFLUENCE ON THE MARKET Our Development Process Comprehensive Tutorial for Styling Customer Registration Form with Easy Builder Step-by-Step Construction of a Customer Registration Form with Easy Builder All (77)Like And Share
Tags
Talk to us
Contact us to request a quote.